Bathroom Remodel
Here is another bathroom remodel that started with modest goals and became much more ambitious over time. Some of the aspects, which increased labor, include zero grout line tile, shower niches, new shower fixtures, accent tiles, shower seat, and new electrical fixtures.
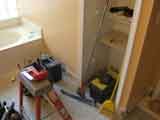
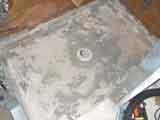
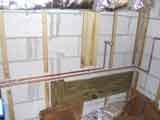
The shower had broken tiles in the bottom corner, which would normally pose a problem for a shower with no shower pan, but since it is a sunken shower stall there was never any danger of leakage. There was however the possibility of damage to the dry mortar bed under the floor tile not to mention a mold issue. For this reason, I decided to install a shower pan. The shower pan would also prevent possible future leaks behind the shower seat from draining improperly.

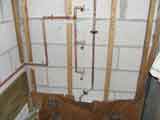
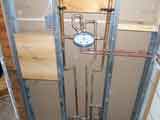
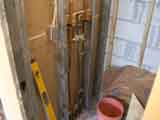
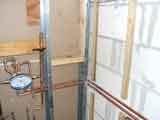
The owners decided to go with a Shower fixture from Hansgrohe. If anyone buys from Hansgrohe, I recommend buying the pieces individually. You could wait months to get your order if you don't. They do not ship your order until everything is available at the same time. I had one item backordered; While waiting for that part that eventually came in, they went out of stock on another part that would have completed my order. I will admit though that it is a beautiful piece of German engineering. I called the manufacture to make sure there was no balance loop necessary for the body jets. Some fixtures such as Moen require a loop to equalize pressure for all the jets. Notice the 4" nipples on the drop ear fittings. The rough has a plug, which allows the entire exposed plumbing to be leak tested. Also notice the wood to the left of the shower rough for a future handrail.
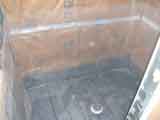
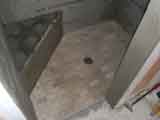
A shower pan is an important building block for a shower. Given the steps, it is not a hard job, just tedious. The dry mortar bed can take hours to setup, which gives you plenty of time to get it right. The dry bed also helps prevent mold because it is permeable and allows water to flow freely to the drain. I lay the cement board over the shower pan at the bottom. If water gets behind the shower seat then it has nowhere to go but to the drain. I normally tile the wall first excluding the bottom row then the floor, but since I was installing rectified tile I did the floor first then covered the it with rosin paper for protection.
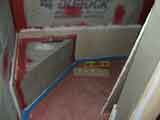
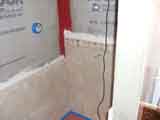
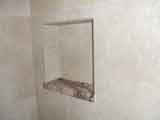
RedGuard is rather pricey, but a very small price to pay to keep things watertight. It looks as if a lot of time was spent around the seat and corners, but in fact the niches were the most important areas to waterproof. If any cracks develop in the joints behind these tiles there is nothing but the RedGuard to protect the drywall from moisture. There were quite a few pieces that were taken to get bullnosed for the exposed edges of the shower. I believe it was $3 a linear foot. I spent the most time on getting the bottom course straight so that the remaining courses will be straight. Working with rectified tile can be very challenging especially when it comes from China. Not only was this tile warped, but the length was off by as much as 1/16" on some tiles. That is a great deal when doing a zero grout line. My grout line is actually 1/16" because of the inconsistency in size.
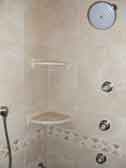
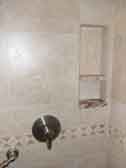
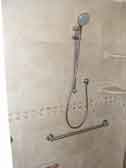
A great deal of time was spent mocking up the location of all the fixtures before the cement board went up. Notice the height of the accent tile running between one of the body jets and the corner dish. Doesn't seem like a big deal, but if the accent tile ran into the body jet location, there could be a leak behind that fixture. It also had to run between the rough and the handrail. Everything was taken into consideration. These are the details that make a good job even better.
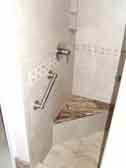
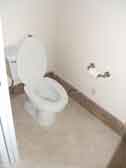
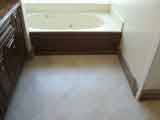
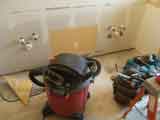
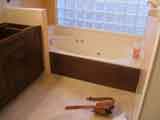
The marble people could not cut the baseboards to 3/4". I wasn't sure the thickness (1-1/4") would work, but it turned out better than I thought it would. The cabinet people did a good job dressing up the bathtub.
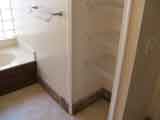
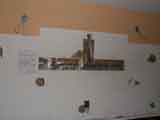
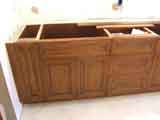
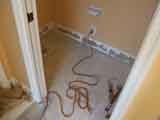
I had to move the electrical last minute to accommodate the new fixtures. We were originally going to put something across the horizontal boards over the sinks.
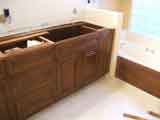
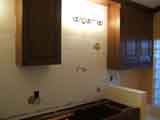
Two of the electrical outlets had to be moved as well. The marble people had to install the countertop before the cabinet people could finish their work. Here is an example of how things don't always go as planned. Look at the crown molding top right in the right hand photo. There is a wedge between the crown and the ceiling. The builder of the house did a poor job in keeping the ceiling level at this corner. It was off by 3/4". Normally crown molding can hide a deficiency like this, but the vertical crown run had to mesh with horizontal crown across the cabinet. I had to fill in the area with 6 coats of joint compound and feather it out so it looked seamless.
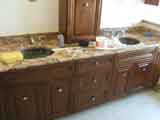
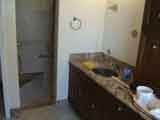
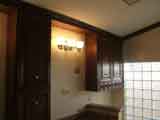
Notice how the gap between the crown molding and ceiling has disappeared. The glass guy has yet to install the mirrors and the doors.
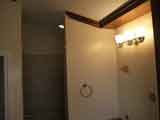
We kept the crown molding out of the shower area.